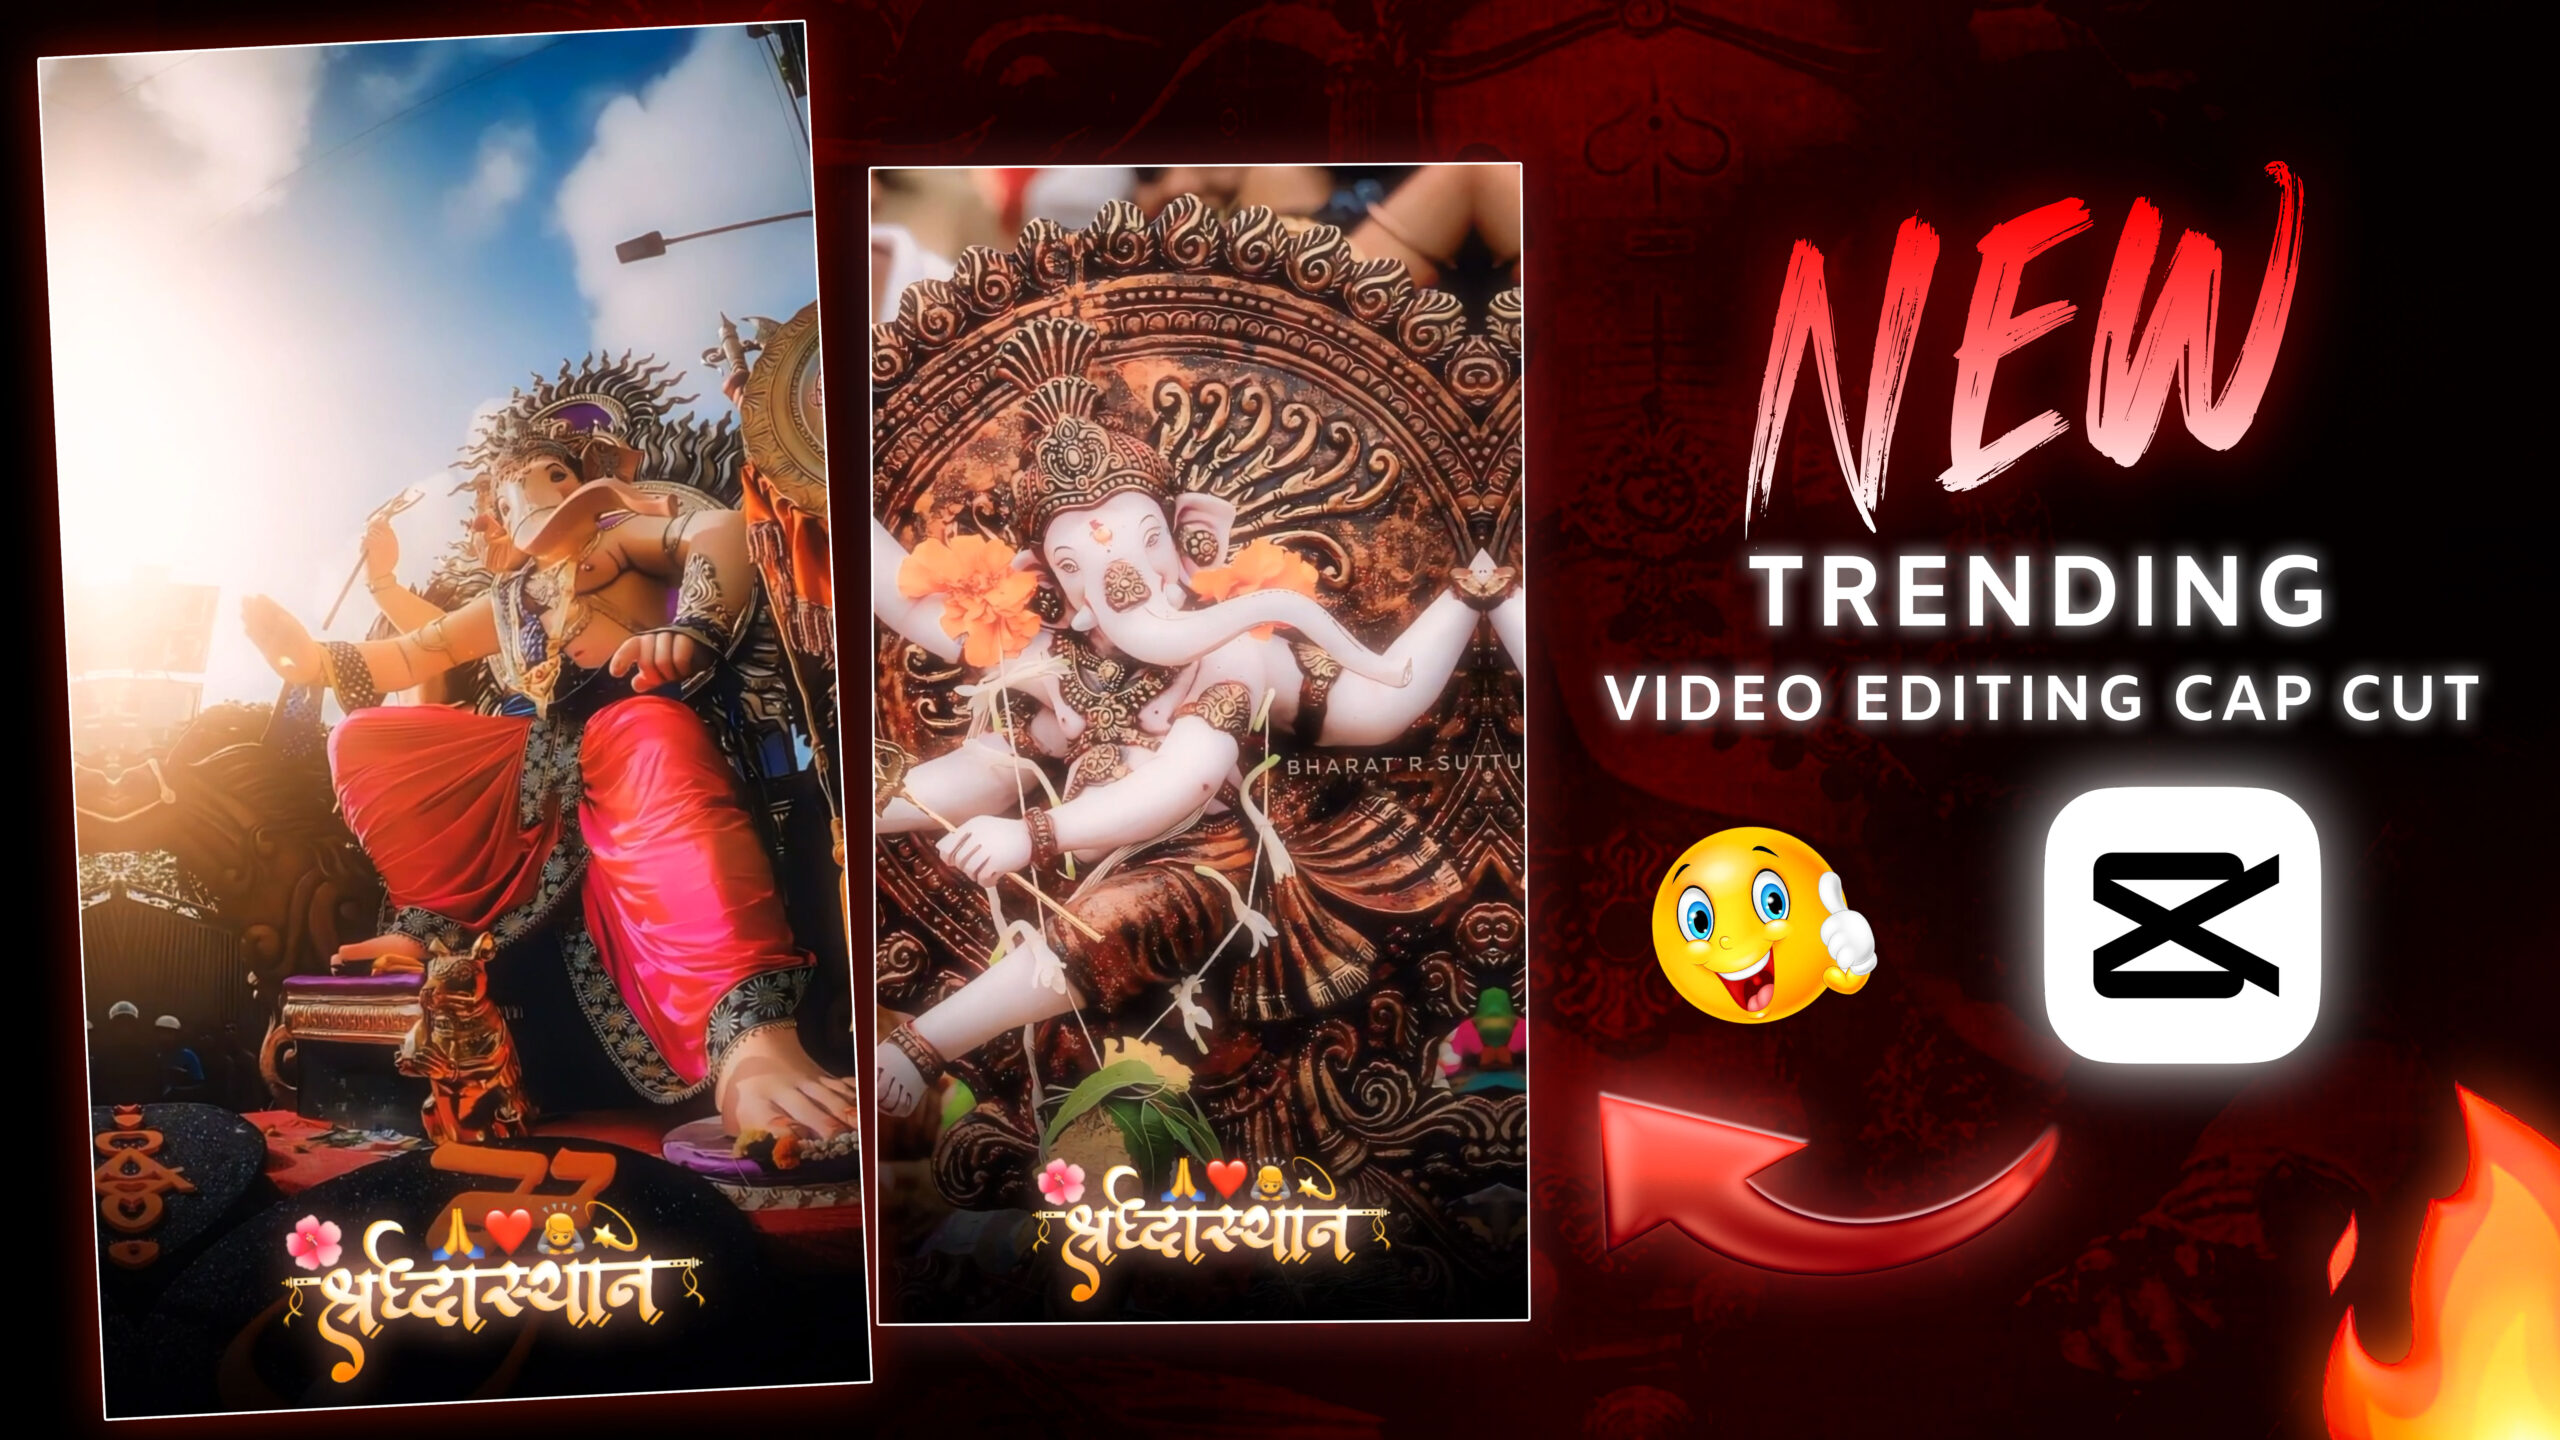
“Ganpati Bappa Video Editing Using Alight Motion | Complete Guide”
Introduction
Alight Motion is a powerful video and animation editing app available for both Android and iOS devices. It offers a variety of features including keyframe animation, visual effects, color correction, and more. This guide will take you through the steps to create a beautiful Ganpati Bappa video.
Step 1: Setting Up Your Project
Download and Install Alight Motion: Ensure you have the latest version of Alight Motion installed on your device.
Create a New Project: Open Alight Motion, tap on the “+” icon to create a new project. Choose the appropriate aspect ratio (e.g., 16:9 for YouTube) and resolution based on your target platform.
Import Media: Tap on “Media” to import images and videos of Ganpati Bappa that you want to include in your project.
Step 2: Basic Editing
Arrange Clips: Drag and drop your media files onto the timeline in the order you want them to appear.
Trim Clips: Use the trim tool to cut out unwanted parts of your clips. Tap on a clip, then drag the ends to trim it to the desired length.
Step 3: Adding Effects and Transitions
Apply Transitions: To add transitions between clips, tap on the “+” icon between two clips on the timeline, and select from the various transition options like fade, slide, etc.
Use Keyframes: Keyframes allow you to create smooth animations. Select a clip, tap on the “Keyframe” button, and set your starting and ending points for movements or effects.
Step 4: Adding Text and Titles
Insert Text: Tap on “Text” to add text to your video. Enter your text, choose a font, and position it on the screen.
Animate Text: Use keyframes to animate your text, making it move, scale, or change opacity over time.
Step 5: Adding Audio
Import Audio: Tap on “Audio” to import background music or aarti songs related to Ganpati Bappa.
Sync Audio: Ensure that your audio is synced with your video. You might need to trim or adjust the audio track to fit your video clips perfectly.
Step 6: Color Correction and Filters
Adjust Colors: Select a clip and tap on the “Color and Fill” option to adjust brightness, contrast, saturation, and other color settings.
Apply Filters: Use filters to enhance the visual appeal of your video. Experiment with different filters to see which one best suits your project.
Step 7: Exporting Your Video
Preview Your Video: Play back your video to ensure everything looks good and is in sync.
Export: Tap on the export icon (usually a right-facing arrow) to export your video. Choose the desired resolution and frame rate for your final video. Tap on “Export” to save the video to your device.
Tips for a Professional Look
Keep It Simple: Avoid overloading your video with too many effects. Sometimes, less is more.
Consistent Style: Maintain a consistent style throughout the video with similar transitions, colors, and fonts.
Attention to Detail: Pay attention to small details like the timing of transitions, the alignment of text, and the synchronization of audio.


